
サイト内検索
ビットマップやレイアウトといったアプリリソースは、各モジュールのres/ ディレクトリ内にある型専用のディレクトリに置かれます。
各リソースファイルは、異なる端末用に最適化した切り替え版ファイルを追加することもできます (高密度画面向けの高解像度バージョンビットマップファイルのような)。
Android Studioは、様々な方法で新たなリソースや切り替え用リソースを追加する手助けをします。 追加方法は追加するリソースのタイプによって変わります。 このページでは、一般的なXML ファイルやリソースディレクトリをプロジェクトに追加する方法について説明します。 その他のリソースタイプの詳細については以下のページを参照してください:
アプリのコードから各リソースを参照する方法の詳細については、リソースの提供を参照してください。
上記のリンクページでは各リソースタイプをカスタマイズする作業について説明していますが、 以下の手順でXMLリソースファイルを追加することができます。:
Project ウィンドウ (Android ビューもしくは Project ビューview)で対象のアプリモジュールをクリックし、 それからFile > New >Android resource fileの順で選びます。
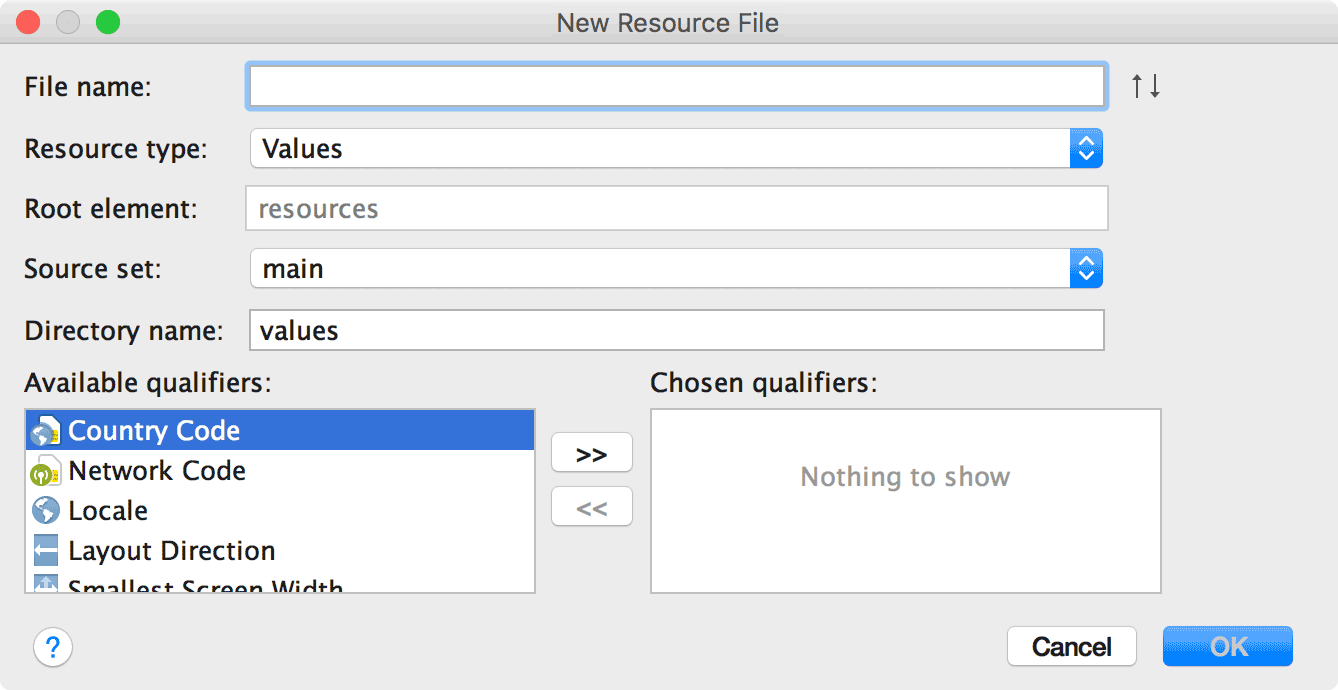
.xml を付ける必要はありません)。 をクリックします。
ヒント: res フォルダ内の既存のリソースディレクトリを右クリックし、New > type resource fileを選びます。 こうすることで、希望のリソースタイプ固有の簡略版New Resource Fileダイアログが開きます。
新規にリソースディレクトリを追加する必要がある場合、以下の手順に沿って作業します:
Project ウィンドウ内で対象のアプリモジュールをクリックし、File > New > Android resource directoryの順で選びます。
 をクリックしてください。